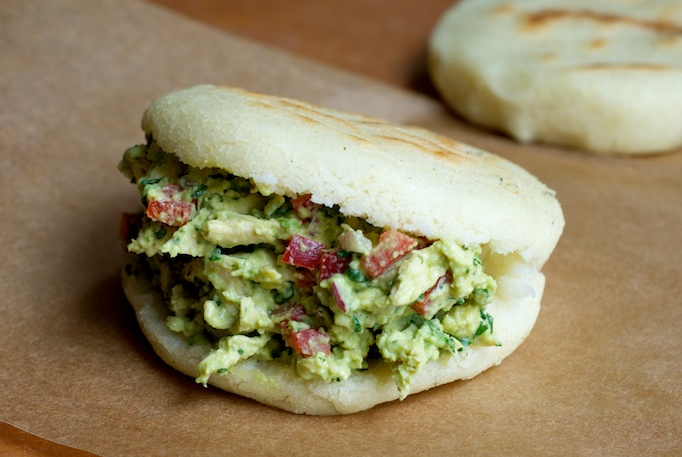

Ever since Mike went to Caracas Arepa Bar while in NYC, I have been trying to recreate arepas for him at home. It was one of his trips, which I could not attend but was lucky enough to get photo updates of all the delicious things he was enjoying…without me – thanks honey. Recreating them at home has proven difficult, as I hadn’t actually had an arepa before. I’ve made them a few times, and they have always been tasty, but I was always left wondering if I was making them like my husband had enjoyed them at Caracas. Well – I have to wonder no more! While browsing epi not that long ago, I was so excited to see that there was an actual recipe from the restaurant that had recently been added; naturally I had to make them right away.
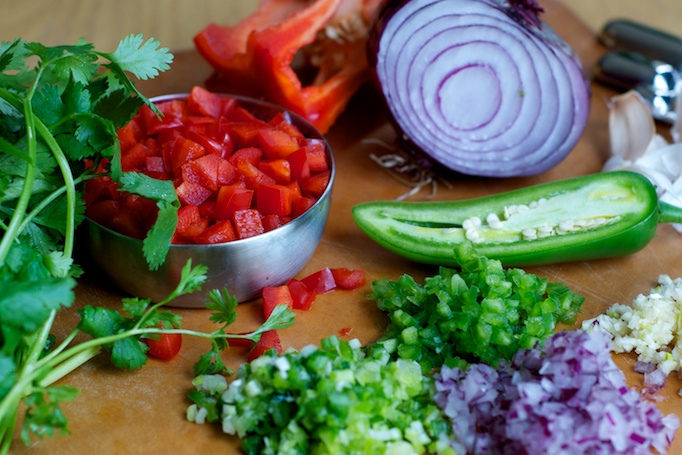
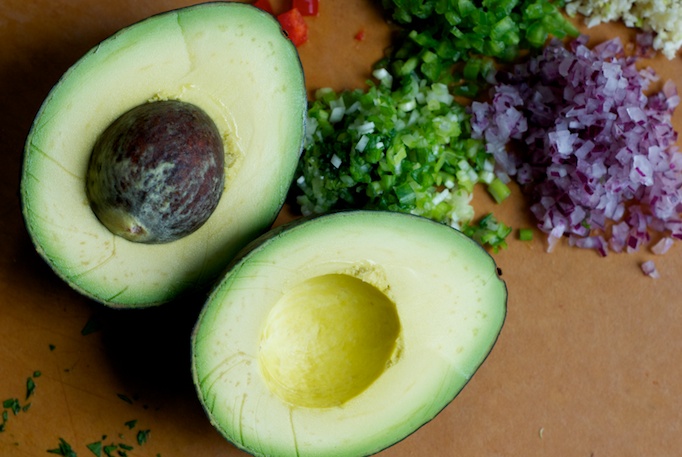
Make sure your avocado is nice and ripe; mine was a tad harder than I would have liked, but the filling was still delicious.
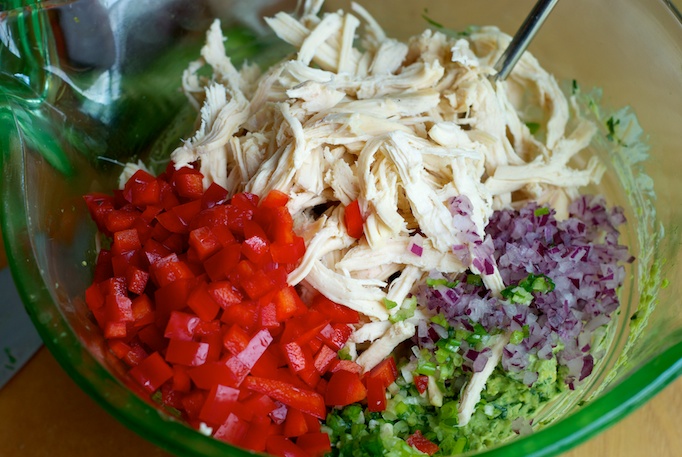
Have fun and experiment with fillings. We have also filled these with chorizo, sautéed onions, avocado slices and cheddar cheese; shredded beef and cheese is delicious too. You can check out the menu at Caracas Arepa Bar for more delicious ideas.

Reina Pepiada Arepas
Adapted from epicurious.com from Caracas Arepa Bar, New York Makes 6 Arepas
For the Filling:
2 6-ounce skinless, boneless chicken breasts 1/2 small onion, sliced Salt and freshly ground black pepper 1 ripe Hass avocado, pitted, peeled, and coarsely chopped 1/4 cup mayonnaise 1 tablespoon distilled white vinegar, plus more to taste 2 tablespoons minced fresh cilantro 2 tablespoons minced fresh parsley 1/2 jalapeño, seeded and minced 2 garlic cloves, minced 1/2 cup seeded and diced (1/4-inch) red bell pepper 2 tablespoons finely chopped red onion 1 scallion, white and green parts, finely choppedTo make the filling, place the chicken breasts and sliced onion in a medium saucepan and add enough cold water to cover by 1 inch. Add 1/2 teaspoon kosher salt and 1/4 teaspoon pepper and bring to a simmer over medium heat. Reduce the heat to medium-low and simmer, uncovered, until the chicken is cooked through, about 15 minutes. Remove the chicken from the saucepan and let cool completely. Tear the chicken into shreds, and set aside.
Mash the avocado, mayonnaise, and vinegar together in a medium bowl with a potato masher or large fork until smooth. Stir in the cilantro, parsley, jalapeno, and garlic. Add the chicken, red pepper, red onion, and scallion; mix together. Season to taste with salt, pepper and additional vinegar (to give the filling a pleasant, but not sour, tang). Cover and refrigerate until ready to serve.
For Arepas:
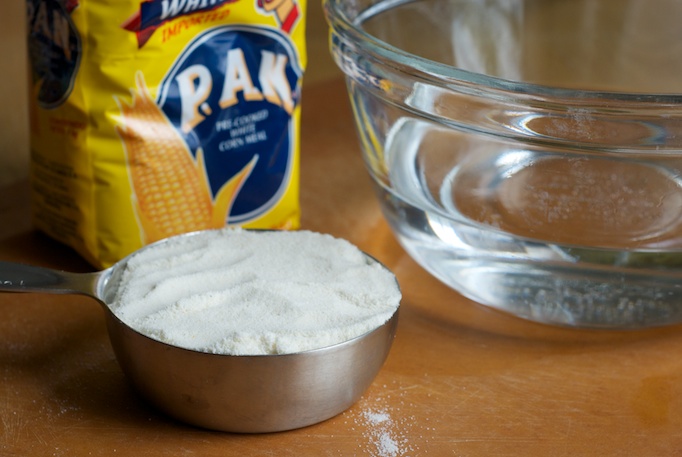
3 cups lukewarm water, or as needed 1 1/4 teaspoons kosher salt 3 cups Venezuelan cornmeal, or as needed ** 2 tablespoons plus 1 teaspoon canola or vegetable oil, plus more for the griddlePosition a rack in the center of the oven and preheat the oven to 350°F.
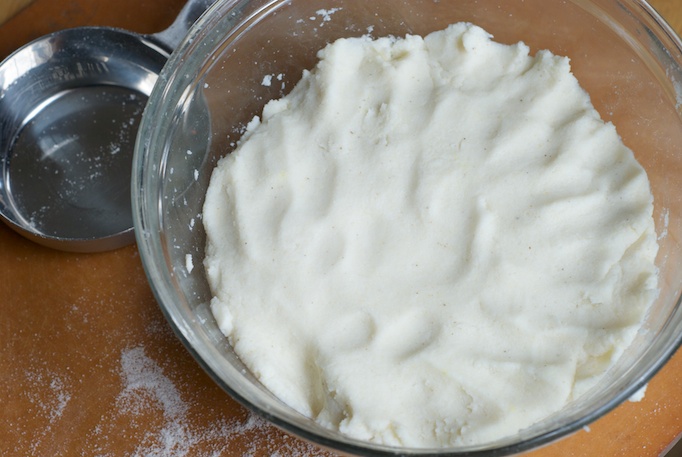
To make the arepas, stir 3 cups lukewarm water and the salt together in a large bowl to dissolve the salt. Gradually add 3 cups cornmeal, mixing with your fingers to dissolve any lumps, adding enough to make a soft dough that holds its shape without cracking when molded. Set dough aside to rest for 3 minutes. Add the oil and work it in with your hands, adding cornmeal or water to return the dough to the proper consistency.
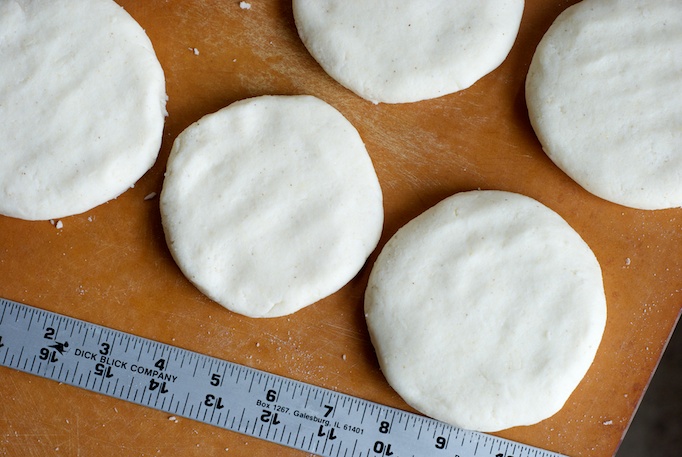
Divide the dough into 6 equal portions. Shape each into a 4-inch diameter disk, about 1 inch thick. Transfer to a baking sheet. Lightly oil a large nonstick skillet or griddle and heat over medium heat; I used a 12 inch cast iron skillet which worked well – you will need to cook them in two batches of three. Cook until the underside is a splotchy golden brown, about 4 minutes. Turn and brown the other side. Return arepas to the baking sheet. Tap on one and listen to how it sounds, it should be a dull thud like sound.
When all of the arepas are browned, transfer them directly onto the oven rack (without the baking sheet). Bake until the surfaces of the arepas have formed a taut skin—if you rap your fingers on one, it will feel and sound hollow like a drum; this took about 15 minutes for me. Return arepas to the baking sheet and let cool slightly. Cut a slit in each arepa to form a pocket and then fill with the chicken mixture. Serve warm.
Note: ** For arepas, you must use precooked cornmeal (labeled harina or harina precocida), imported from Venezuela. American cornmeal or corn flour and Mexican masa harina will not work. The most popular brand of precooked cornmeal is P.A.N., found at Latino markets or online at www.amigofoods.com. Use white (blanco) cornmeal only.

Kristina says
My Colombian family eats arepas. In fact, we just had them this morning, only we put different filling inside. Arepas are hard to beat no matter what you put inside! This way looks delicious too!
theamericaine.blogspot.com says
I have never had these before by my eyes are hungry!
Paula says
I could not live without arepas, and although the Reina Pepiada filling is simpler than this…. I have to try this one out! It looks absolutely delicious 🙂
heather says
Me either! The Venezualen restaurant by our house deep fries the arepas so they are super crunchy! Their reina pepiada filling is much simpler than the one from Caracas Arepa Bar in NYC. Just chicken, avocado, and mayo.
LunaCafe says
OMG, these look fabulous! I am working on a post on chorizo sliders and am not thrilled with the typical slider buns. So I started looking around for options. Arepas are it! Thank you so much for your excellent article. …Susan
Esther says
I am so glad to found your site. Looked up chocolate chip cookies n found you. Then looked at ur dinner. My husband is from Venezuela n I’m Colombian. I’ve made arepas since we moved from Miami but its something that takes lots of practice. We are in fort rucker Alabama so not a lot of Latin places to eat. I’m going to make this one tomorrow on top of the chocolate chip cookies. Thanks so much for sharing. 🙂
heather says
Awesome! So glad you’ve found a bunch of recipes you like!! I’d love to know what you think when you try them. Thanks!
Esther says
Omg sooooo tasty we love it. Thanks
heather says
Wonderful!! So happy you enjoyed them 🙂
Heather says
Just made your recipe, I thought it was fantastic. Was tricky knowing when they were cooked as they are quite dense, sort of reminds me of scrapple. The left over arepas can be split and put in the toaster to warm back up. Thank you for your detailed post with great instruction and pictures. I look forward to trying some of your other recipes!