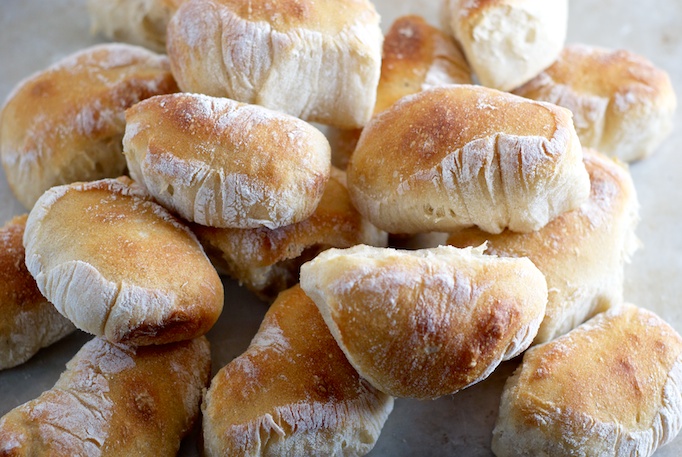
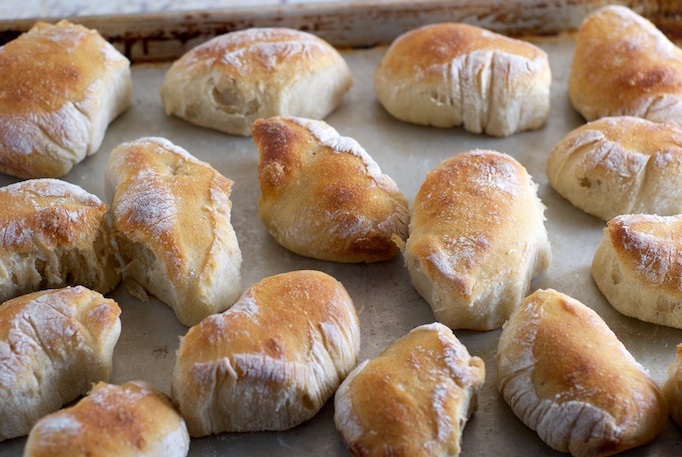
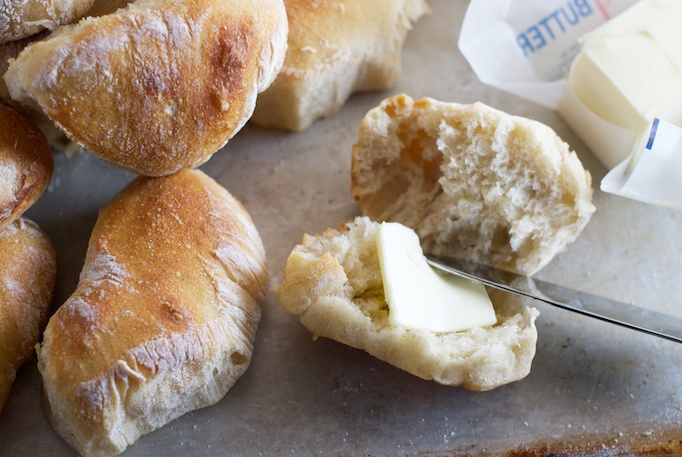
Every time I make these we are always impressed with how good they are. The crust is crackly, crisp with a soft but substantial interior; they are insanely addicting.
What’s more impressive though, is that these are relatively easy to make, and can be really versatile. They are excellent with a soup, stew or chili, but also make cute mini sandwiches. In the morning, they are great toasted with a little butter.
These would be a nice addition to a Thanksgiving or holiday dinner. They can be made up to two days in advance, and the re-crisped in a warm oven just before serving.
Rustic Dinner Rolls
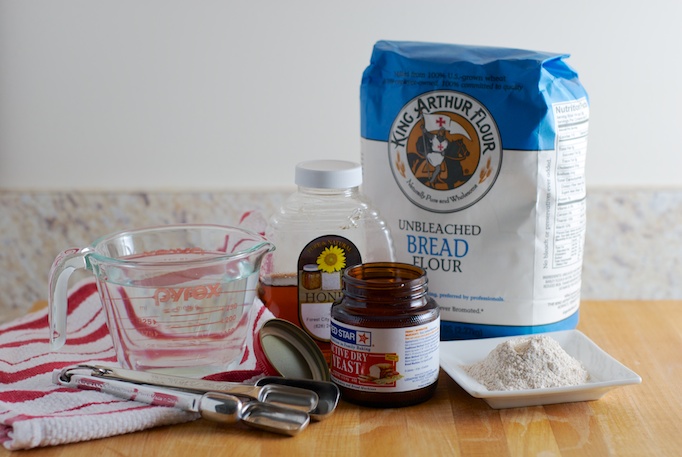
Slightly adapted from More Best Recipes Make 16 rolls Rolls can be stored in sealed plastic bag for up to two days. To re-crisp the crust, place rolls in 450 degree-F oven for 6-8 minutes. 1 1/2 cup, plus 1 tablespoon water, at room temperature 2 teaspoons honey 1 1/2 teaspoon instant or rapid-rise yeast* 3 cups, plus 1 tablespoon (16 1/2 ounces) bread flour, plus extra for work surface and dough 3 tablespoons whole wheat flour 1 1/2 teaspoons saltIn the bowl of a standing mixer, whisk together the water, honey and yeast until honey dissolves. Add flours and mix with dough hook on low-speed until a cohesive dough forms, about 3 minutes. Do not add salt yet. Cover bowl with plastic wrap. Let sit at room temperature for 30 minutes.
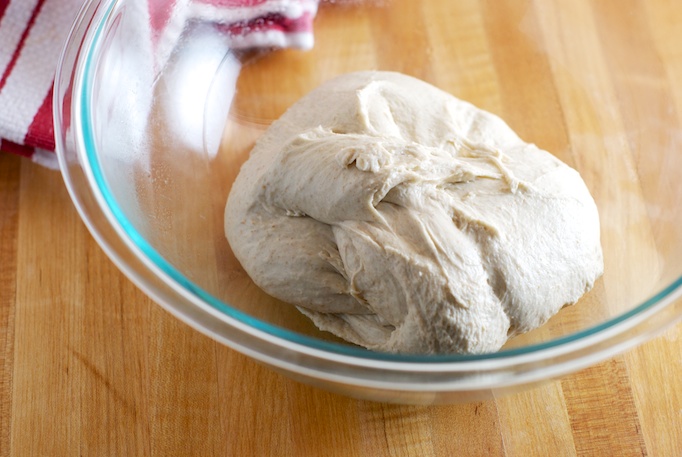
Remove plastic wrap, and sprinkle salt over dough. Knead on low-speed for 5 minutes, scraping any dough down that creeps up the hook. Increase speed to medium and knead for an additional minute. Dough should be smooth but slightly tacky. If the dough is very sticky add 1 to 2 additional tablespoons of bread flour and continue mixing for an additional minute. Lightly oil or spray a 2-quart bowl with vegetable oil; transfer dough to bowl and cover with plastic wrap. Let dough rise in a warm, draft free place until doubled in size, about 1 hour.
To create an airy crumb, complete a series of turns and rises. With a wide spatula, fold dough over itself; rotate the bowl a quarter turn, then fold again. Rotate bowl once more, and fold again. Re-cover with plastic wrap and let rest for 30 minutes. Repeat folding process again, and let dough rise for an additional 30 minutes, or until doubled in size. Spray or lightly grease two 9-inch cake pans with vegetable oil, and set aside.
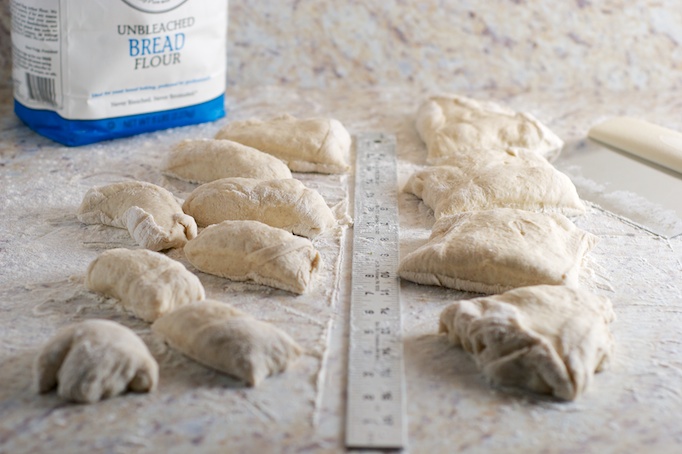
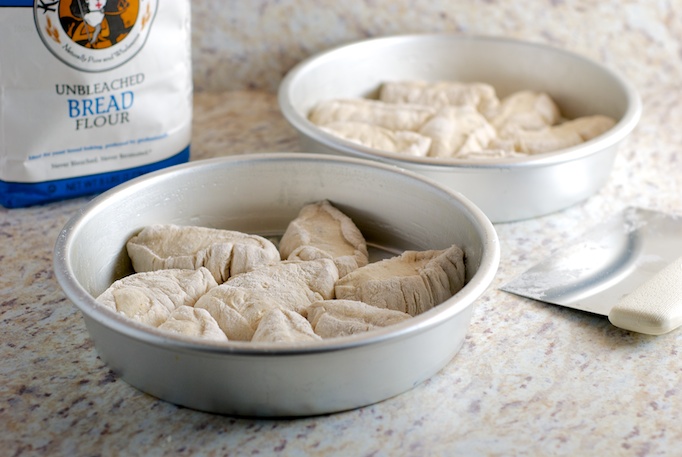
Turn risen dough out onto a well floured work surface and sprinkle the top of the dough with additional flour. Using a bench scraper or sharp knife, cut the dough in half. Gently stretch each half into a 16-inch log or cylinder. Divide each cylinder into quarters, and then each quarter into two pieces. This should produce 16 pieces. Dust the top of each piece with additional flour. With floured hands, gently pick up each piece and roll gently in your palms to coat with flour. Very lightly shake any excess flour off and place in prepared pan. Arrange eight dough pieces cut-side up in each pan, placing one in the middle and the other 7 around it with the long side of each piece running from the center to edge of the pan (like flower petals). Loosely cover pans and let rise for about 30 minutes or until doubled in size. Position rack in middle of oven, and heat oven to 500 degrees-F while rolls are rising.
Remove plastic wrap from rolls. Spray lightly with water, and place both pans on middle rack of oven. Bake for 10 minutes then remove from oven. Reduce oven temperature to 400 degrees-F. Invert both pans onto a rimmed baking sheet. When the rolls are cool enough to handle, turn them right-side up and pull apart, spacing evenly on the sheet. Continue to bake until rolls become deep golden brown and sound hollow when tapped on the bottom, about 10 to 15 minutes; rotate baking sheet half way through. Remove rolls to wire rack to cool.
* I used the same portion of active-dry yeast; my rise time ended up being just slightly longer. If using active dry yeast, wait 5 minutes before adding flour to water/honey/yeast mixture.

Linda says
This is one of the best set of instructions I have read for making bread. Thank you for taking the time to write this. I’ve made bread , but you added some good tips. They look good enough to eat! ;-).
heather says
Thanks!! Hope you enjoy them…
Amber says
Wonderful!
Sarah says
Trying these as I write this!
heather says
Oooo! Let me know how they turn out!!
Sarah says
They turned out fantastic! Mind if I blog and use a photo and send people here for the recipe? If you mind I wont 🙂
heather says
Not at all! Thanks for checking! So glad you liked them 🙂
Nancy says
This is ATK’s recipe. I love all of their recipes because they are so well-written. I found your site at the Daily Feed.
heather says
Yes it is! Love them!!
Dave says
I had been searching for this recipe forever and was happy to find it on your site. Really appreciate it. Warning to 1st timers: these rolls can become an obsession. Makes the home chef feel like a Parissiene breadmaker.
heather says
So glad you found it! You’re so right, they are an obsession…I can’t even count how many times I’ve made these!
Heather Powell (Mrs) Aged 85 says
I don’t have a mixer so no dough hook. Could these be made by hand I wonder?
heather says
Hi Heather! You should be able to, but it will take a little longer. Be careful not to add to much additional flour when kneading by hand so the rolls maintain their chewy texture.
Sandy says
Have you tried variations, like adding olives, or nuts and raisins?
heather says
I haven’t, but I’m sure it would be delicious. If you try it, please share your results!!