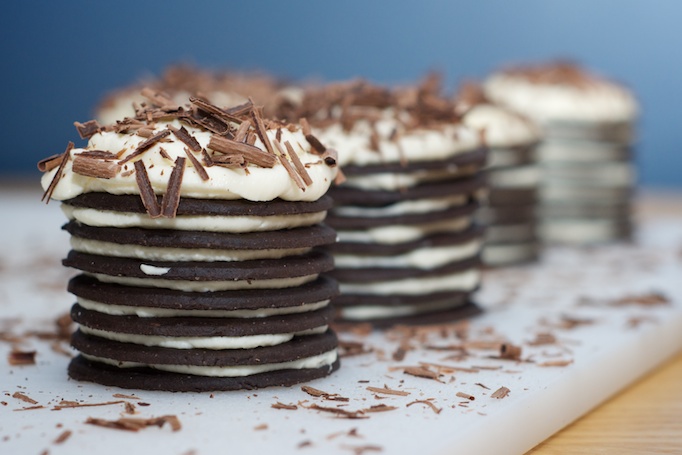
I love these darn things; they are so easy to make, yet look absolutely adorable. These are a perfect summer dessert because you don’t have to use the oven or stove (if you choose to buy your wafers from the store). There is also a very low mess factor with these, which made them the perfect dessert to bring in for my friend’s birthday, before my big move. You can always make your own chocolate wafers too, which I would still like to do, but the little box from the store was quite handy this time.
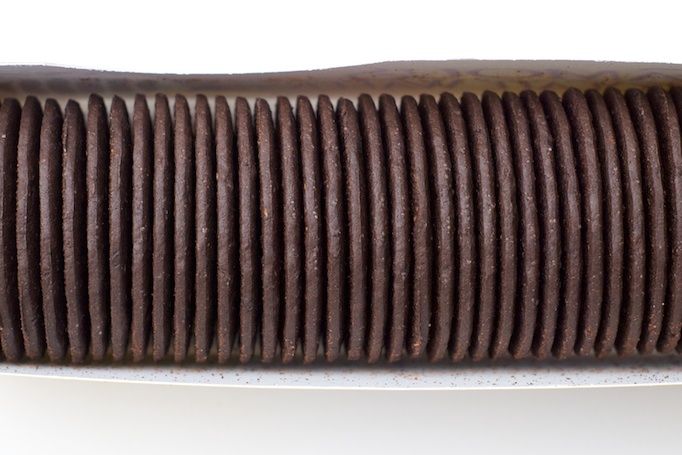
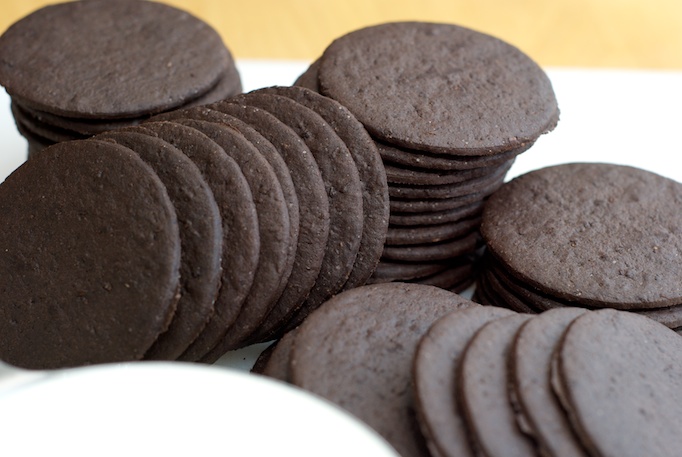
I have to admit, I’m not too happy about posting two desserts in a row, let alone both being chocolate; It’s a little early to be breaking two rules I set up in my head before starting this just a little while ago, but it was that or no post (which I thought was much worse!).
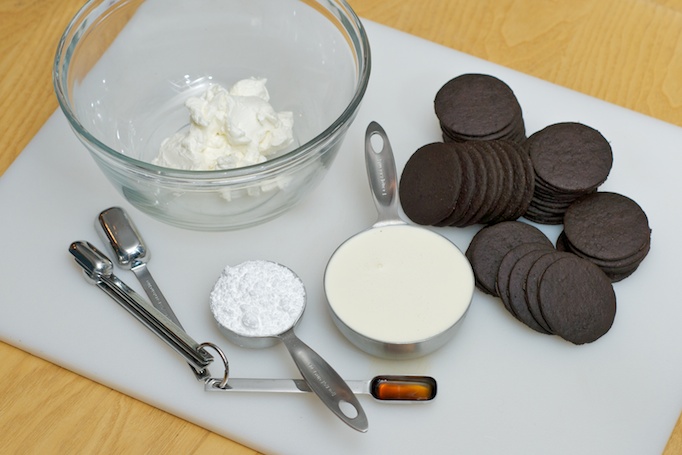
There are endless filling possibilities for this no-bake dessert; mint, almond, orange, mocha, berry, cherry, and so on. I stumbled upon this version while cleaning out my fridge in prep for the move because I had a pack of cream cheese leftover. I hate wasting food, and this seemed to be the perfect solution and I’m a sucker for chocolate and cream cheese.
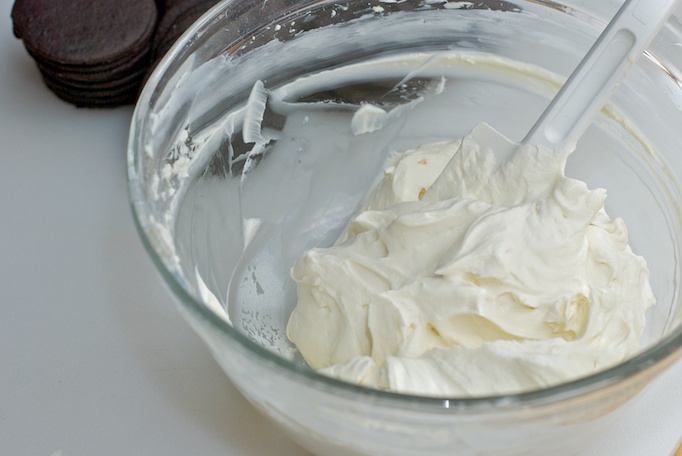
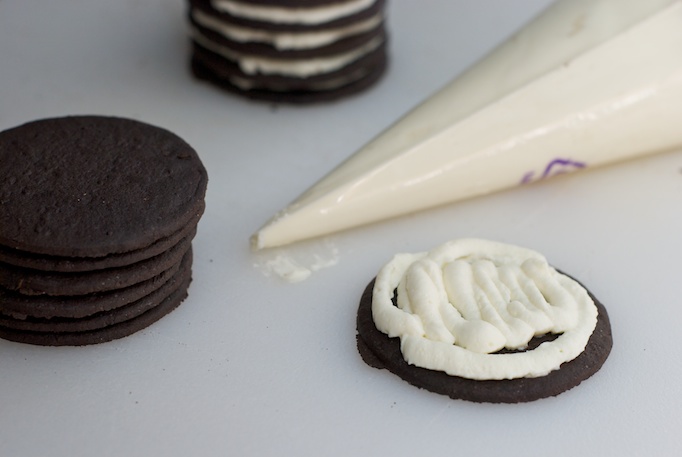
I chose to fill these with a pastry bag because I made a bit of a mess the last time I filled them with an offset spatula for frosting cake; feel free to use either method.
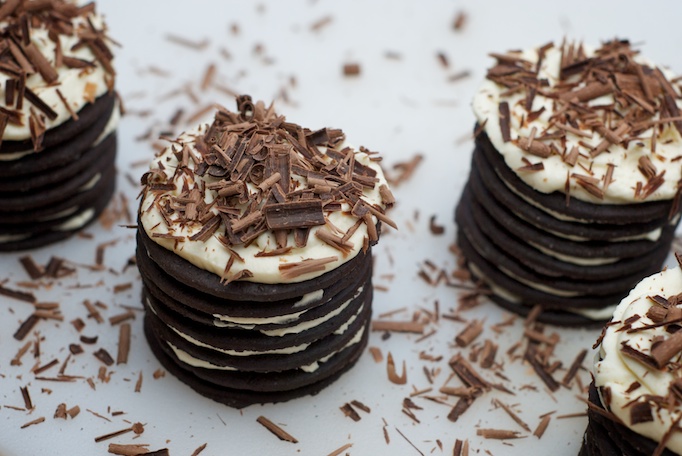
Chocolate Cream Cheese Icebox Cupcakes
Makes 6 Cupcakes
1 9-ounce box of chocolate wafers 4 ounces cream cheese, room temperature 1/4 cup confectionary sugar 1 cup heavy cream 1 teaspoon vanilla chocolate bar for shavings
Divide cookies into 6 stacks; I had 7 cookies per cupcake with a few leftovers for testing/snacking.
In a medium bowl, beat cream cheese and confectionary sugar with mixer (I used a hand-held electric with a whisk attachment) until very smooth. Add cream and vanilla and beat on high until light and fluffy.
Spread base cookie in one stack with about 2 teaspoons of filling (see photo above), continue until all layers are filled, and not spreading any whipped cream on the top cookie; repeat with remaining cookie stacks. When all cookies are filled distribute the reaining filling on to of the cookies (or to desired amount). Great chocolate bar over whipped cream with a vegetable peeler. Place in airtight container. Refrigerate at least 4 to 6 hours or over night so cookies soften.

Dana Mary says
I enjoyed making this recipe very much. It was great to make a dessert without starting the oven. I couldnt find chocolate wafers anywhere. It was a pain, I went to about 5 different stores. I ended up using chocolate graham cracker. They were delicious! Thanks Heather Homemade!
heather says
Thanks Dana Mary! The wafers can be hard to find. In my old grocery store they were with the ice-cream cones and toppings; however chocolate graham crackers were a good substitution!
Dana Mary says
Hey heather! I made this recipe again! I had a little help finding the wafers this time. They were even better with the correct ingredients. Yum yumm!
Jesica @ Pencil Kitchen says
This is just brilliant and beautiful and easy at the same time!
heather says
Thanks! It’s super adaptable too! Mint, orange, cherry….so many filling possibilities!
The Dinner Belle for Kimberlybelle.com says
I love ice box cake but these little individual ones look so cute and perfect for a holiday party. I fill mine with a mascarpone coffee filling–I just love the combo of chocolate with a hint of coffee. I have never thought of an orange cream but I think that I will have to try that next.
The Dinner Belle for Kimberlybelle.com
Melissa says
I made a Halloween icebox cake for Halloween using the wafer cookies and pumpkin pie dip. I am going to use your vertical method to do it for next year’s festivities. Thanks for the tutorial!
Barbara J Shields says
For those in search of chocolate wafers which are nearly impossible to find, go to the International Foods section of your grocery. GOYA makes a chocolate (or vanilla) wafer that works perfect in this recipe. I just turn them so the GOYA logo is facing down.