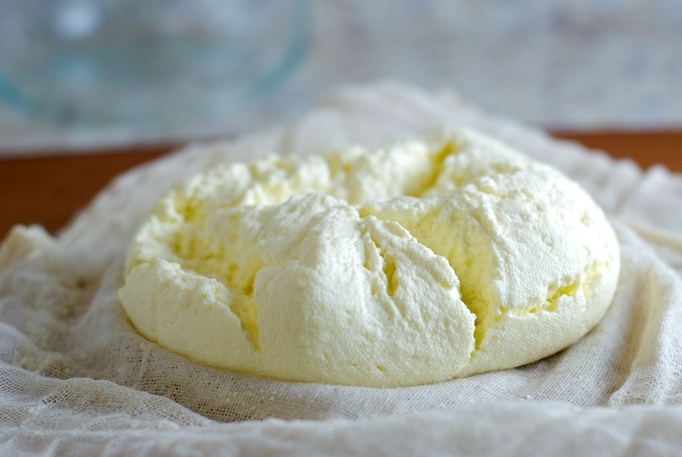
Most of my weekend has been consumed by transforming a crazy mass of a basil plant into these perfect little pesto packets. In between preserving my summer basil, and doing the normal weekend house work, I decided to make homemade ricotta. Let me start out by saying, this is NOT traditional ricotta; however many recipes I have found use this method. Ricotta is typically made from the whey that is leftover from other cheese making processes like mozzarella (which I would like to tackle some time as well). This is richer and creamier than the stuff you get in the stores, so while it is not traditional, it is absolutely delicious.
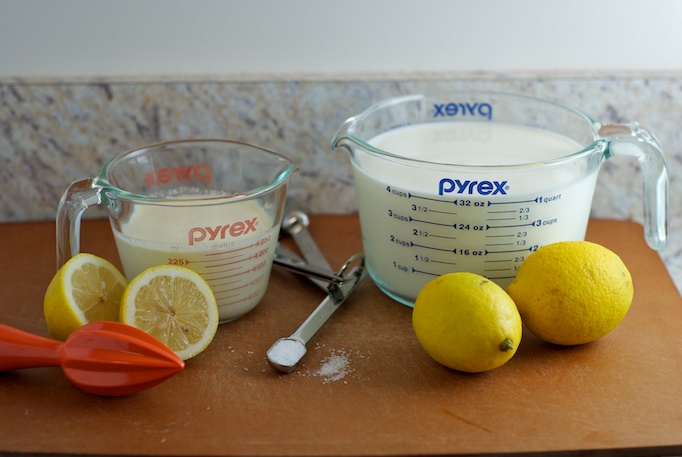
It is also ridiculously simple to make; there are only 4 ingredients required, and under 30 minutes of active cooking time – the rest of the time is waiting for the whey to drain from your ricotta. This would even be a good project to start after dinner, to use for the next day.
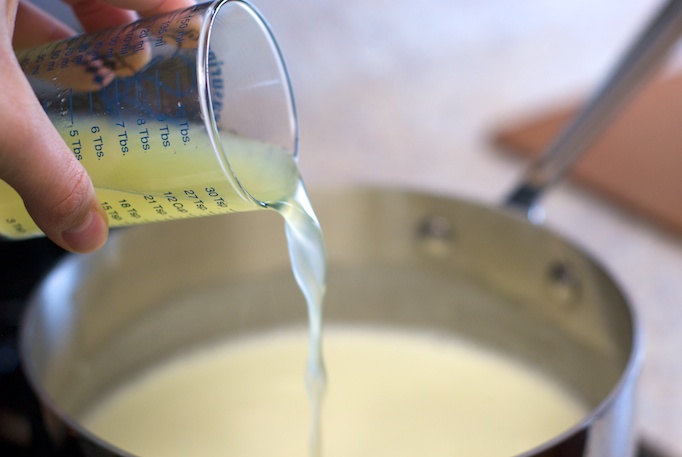
When you add your lemon juice to the milk/cream mixture it should be done off the heat. When it is mixed in and sitting for a minute or two, the milk/cream mixture should start to look like it is boiling; what is actually happening is the curdles in the cheese are beginning to form – which is a good sign!
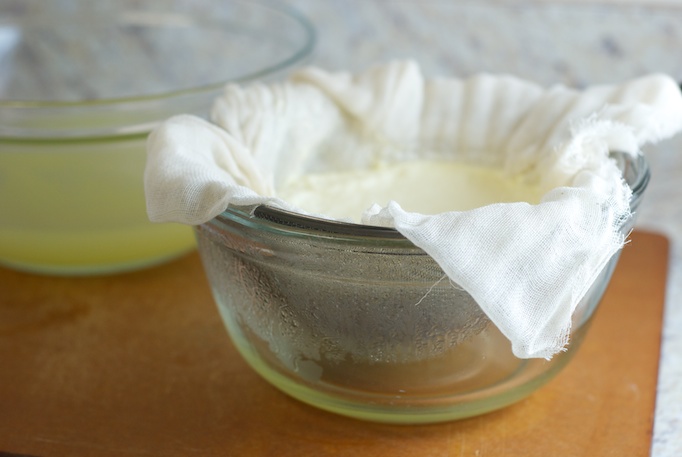

And here is the whey. This is what traditional ricotta is made from, by re-boiling this with an acid to create more cheese. You can also save it, and use it for other things. There is a recipe or two, that I am going to test (and hopefully post!) if they are successful. You can certainly throw out the whey, if you don’t want to use it, but there was just so much of it, I felt bad dumping it straight down the drain. If anyone else has successfully cooked or baked with their leftover whey, I would love some ideas!

Homemade Rich Ricotta
Adapted from Smitten Kitchen
Makes about 1.5 cups of ricotta, mine weighted 13.5 oz
4 cups whole milk1 cup heavy cream
1/2 teaspoon coarse sea salt
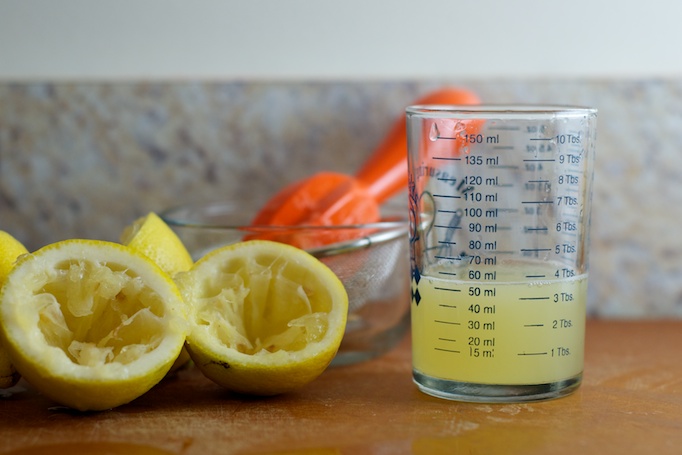
3.5 tablespoons freshly squeezed lemon juice
Pour the milk, cream and salt into a 3-quart nonreactive saucepan. Attach a candy or deep-fry thermometer to the pan (I used my digital laser thermometer and skipped this step). Heat the milk to 190°F, stirring occasionally to prevent burning or scorching on the bottom of the pan. Turn off heat, and remove pan from burner; pour in the lemon juice and give the mixture a gentle stir. Let pan rest, 5 minutes without touching or moving, so as not to disturb the curds that are forming.
Line a colander or wire mesh strainer with a few layers of cheesecloth and place it over a large bowl (to catch the whey). Gently ladle curds and whey into the colander and let the curds strain for at least an hour. My bowl was not nearly deep enough to catch all the whey, so I had to periodically transfer the whey from the bowl, to a separate container so I could save it. If you aren’t going to use your whey, you can of course throw it away. I stopped mine from straining at an hour, because it was more ricotta like; next time I might even back it off to 45 minutes depending on what I’m using it for. If you let it sit for an additional hour, it becomes much thicker like a mascarpone or cream cheese consistency.
Store in an air-tight container in the fridge; it’s best within the first day or so of making, but could probably go up to a week and still be good – just be sure to smell it before you eat it if you’re pushing the storage limit.

Mom says
I couldn’t wait to try this recipe, I saw it in my favorite cooking magazine and on the Food Channel. The first night we had it warm on garlic toast, the remaining I served a generous dollop on top of my marinara sauce made with fresh tomatoes from the garden. Not only did it look very impressive it was also delicious and easy to make. Next, homemade cannoli!
Mom says
I finally made the cannoli with the ricotta, and I must say I out did myself. The ricotta came out better than the first time; so creamy, delicious and easy. I purchased the small cannoli shells from the store, added confectionary sugar and mini chocolate chips to the ricotta, and placed the filling in a bakery bag to fill the shells. They are going to be a special treat on my cookie platers this Christmas.
Mom says
This recipe comes out better every time I make it. I did cannoli again for Easter Sunday, this time I made sweetened whipping cream and folded it into the ricotta with some additional confectionary sugar and a drizzle of chocolate on the shells. I was a big hit, my son in law said they were the best cannoli he had ever had,it doesn’t get any better than that!