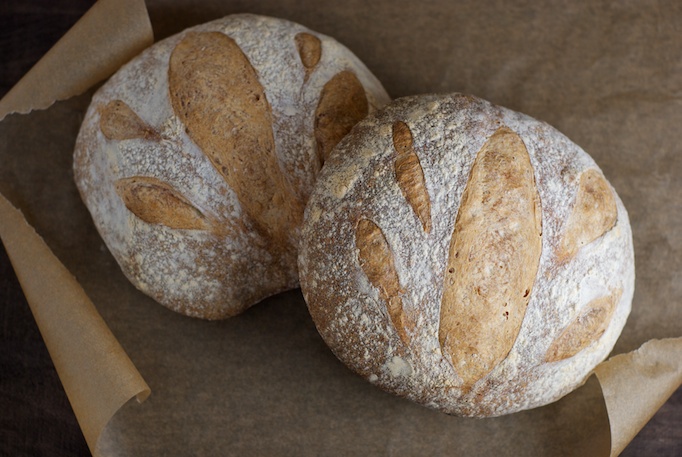
I love baking bread; the ingredients are so simple, and the results can be so divers. As soon as the weather cools and fall approaches, I go on a yeast bread kick, and bake them throughout the winter months up through early spring. This recipe comes from the Flour cookbook, which has recipes from the Flour Bakery in Boston, MA. While Mike was traveling this summer, without me, he dropped in for lunch and picked up a signed copy of Joanne Chang’s book for me.
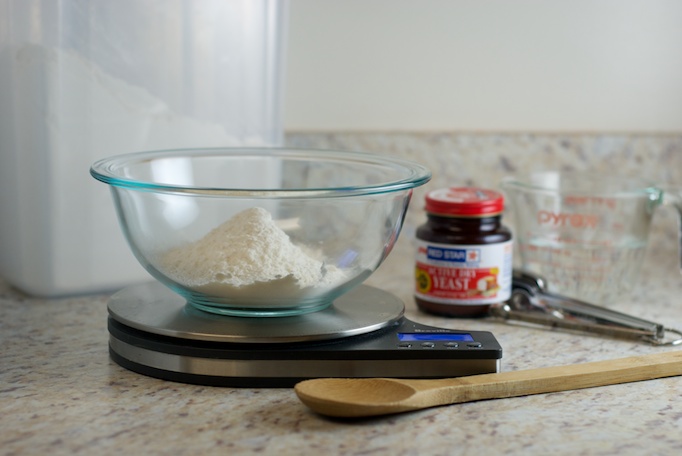

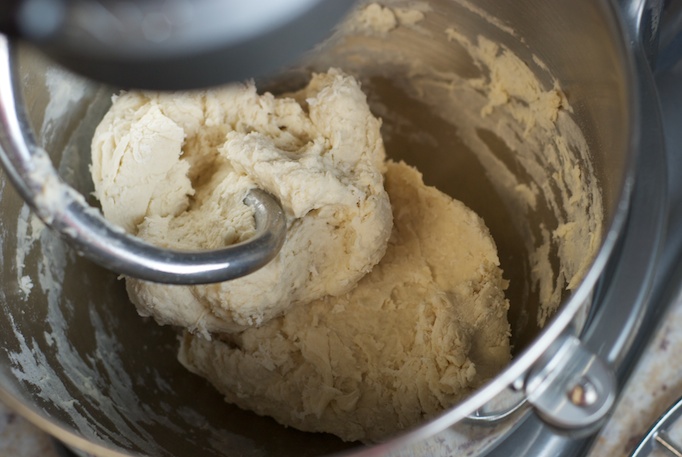
This dough uses a sponge, which gives it a more developed flavor. The sponge takes very little effort to prepare, and is an easy way to boost your bread’s flavor. It does require some pre-planning however. Your sponge will need to rest for 4-8 hours and then be refrigerated overnight, so plan ahead.
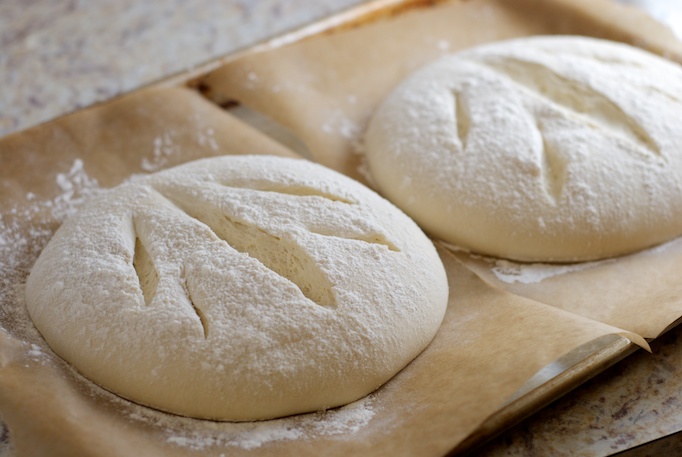
The dough can be slashed in any decorative pattern that you would like; I did a leaf like pattern, but some criss-cross or a few lines would be pretty as well. You can also leave the loaves un-slashed to rupture on their own and create a very rustic, but inconsistent appearance.
Country Bread
Adapted from Flour For Sponge: 3/4 cup (180 grams) water , 100°F 1 1/4 cups (175 grams) unbleached all-purpose flour 1/4 teaspoon active dry yeastIn a medium size bowl or large glass measuring cup mix together water, 1 cup (140 grams) flour, and yeast until well mixed. Cover tightly with plastic wrap and let sit at room temperature for 4 to 8 hours; small to medium size bubbles will form at the top of the sponge. After the sponge has developed for 4 to 8 hours, stir in the remaining 1/4 cup (35 grams) of flour. Cover and refrigerate overnight until ready to use. Makes 12 ounces.
For the Dough: 1 1/2 cups (360 grams) water , 100°F 2 cups (280 grams) unbleached all-purpose flour 2 cups (300 grams) bread flour 12 ounces of bread sponge Pinch of active dry yeast 2 teaspoons of kosher salt 1 teaspoon sugar medium-coarse cornmeal for baking sheet 2-3 tablespoons all-purpose flour for dusting bread topsIn a stand mixer with dough hook, mix water and flours on low speed until fully combined; this will take about 1 to 2 minutes and the dough will be shaggy and dense. Cover the mixing bowl with plastic wrap and let the dough rest for 10-20 minutes (this waiting time is called autolyse which is the process where the flour is allowed to soak up the water and chains of gluten to develop).
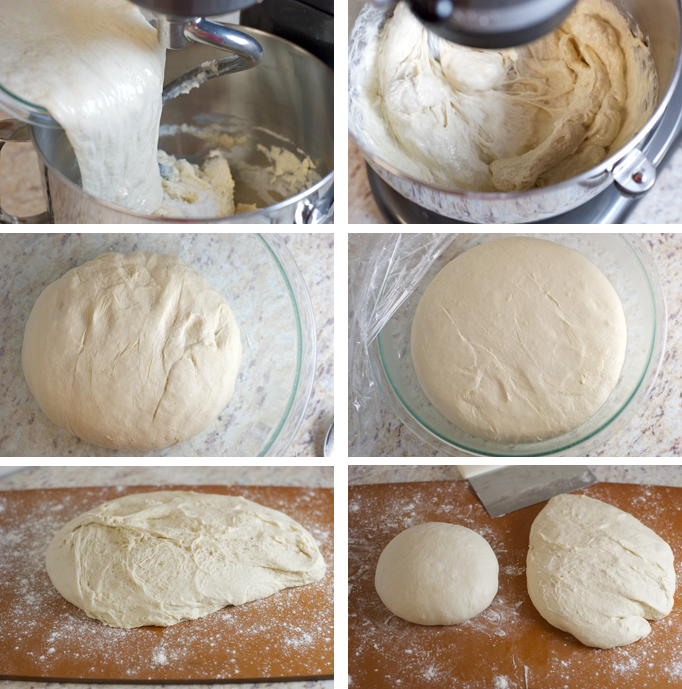
On medium-low speed (I used speed 4 on my Kitchen-Aid), add the sponge, yeast, salt and sugar and mix for 3 to 4 minutes or until the dough is consistent throughout. The dough will seem slightly sloppy and slushy at first, but it will come together; scrape down the hook and bowl a few times to help the sponge and flour-water dough combine easily. The dough should be sticky yet smooth. After the dough has mixed, check the texture of the dough; Chang says that the dough should feel like an earlobe when pinched between your fingers. If the dough is stiffer than this, add a few tablespoons of water; if the dough is softer add several tablespoons of flour to adjust. It will help if you dust your fingers when testing to prevent the dough sticking to your fingers.
Turn the dough onto a lightly floured surface and knead a few strokes to gather into a ball. Place dough in a lightly greased bowl and turn once to coat. Lightly cover bowl with an oiled piece of plastic wrap or a damp cloth. Let dough rise in a draft free place for 2 to 3 hours (78 to 82°F is the ideal temperature for the rise period). As you can see in the photos above, the dough does not rise up high, or double in size, but it will pouf slightly and feel soft and relaxed.
Flour your hands and turn dough out onto a floured surface. Divide dough in half with a knife or bench scraper. To form the dough into a ball, tuck edges of dough underneath, continuing to tuck and gather the edges of dough inward to the center underneath the dough ball. The ball is done when the top is taught and smooth.
Prepare your baking sheet(s) with cornmeal to keep the loaves from sticking to the sheet (I used parchment because I didn’t have cornmeal on hand). The loaves should be at least 3 inches apart; if you can’t fit both loaves on the sheet with 3 inches of space between them, you will want to bake the loves on two sheets in one or two rounds depending on what your oven will fit. Cover loaves with plastic wrap and let rest for another 2 to 3 hours, or until the loaves have softened and look relaxed.
Half an hour before baking, place oven racks in the middle and bottom positions in the one; pre-heat oven to 500 degrees F.
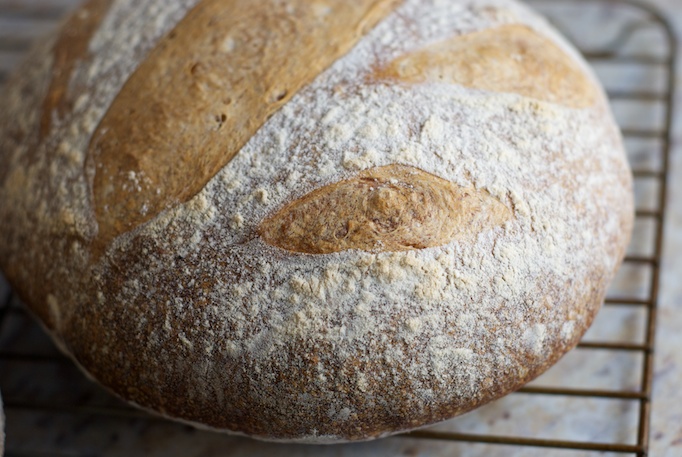
Just before baking, sprinkle loaves with flour for dusting, and slash loaves with a super sharp knife, razor or lame, dipping the cutting utensil in water will help the blade run through the dough easier without sticking. Place loves in the middle of the oven. On the lower oven grate place a baking sheet or baking pan with about two cups of warm water to add moisture to the oven during baking. Bake for 35 to 40 minutes or until the loaves are a deep golden, and sound hollow when tapped on the bottom. If you aren’t comfortable with the tap method, you can also insert a thermometer into the bottom of the bread, and test for doneness that way; the bread should register around 200-210 degrees F.
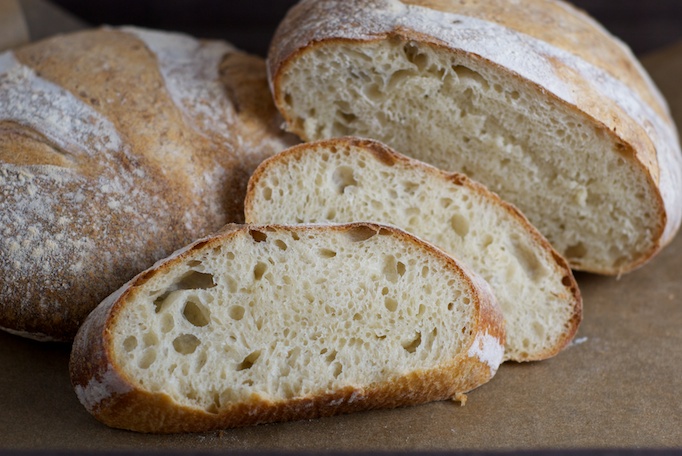
Remove loaves from baking sheet and cool on wire rack for a least one hour before serving. Fully cooled loaves can be stored in a paper bag or loosely covered container at room temperature for a few days.

meeta says
That looks gorgeous! I am so glad I found your website. Can’t wait to try all the lovely recipes that you have been so generous to share. Thanks.
V.A Cerny says
Looks great! Will give it a try.
Deborah says
I am made this twice, excellent, thank you!
Deborah says
I am made this twice, excellent, thank you!
Sandy says
I made a mistake and put all the sponge flour in at once. Should I start over?