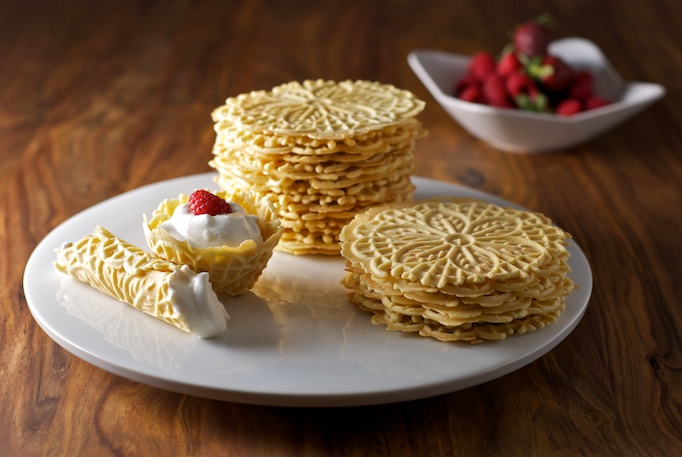
Pizzelles were one of my favorite cookies growing up. On hot days in the summer when baked goods were out of the question in a house without air-conditioning, these were a stand-by (and they are great with ice cream too, which worked out perfectly). But they are awesome any time of year, and can be easily adapted for different flavor inspirations. While the pizzelles are still hot you can form them into fun little dessert cups, cannoli shapes, or cones and fill them with anything you want.
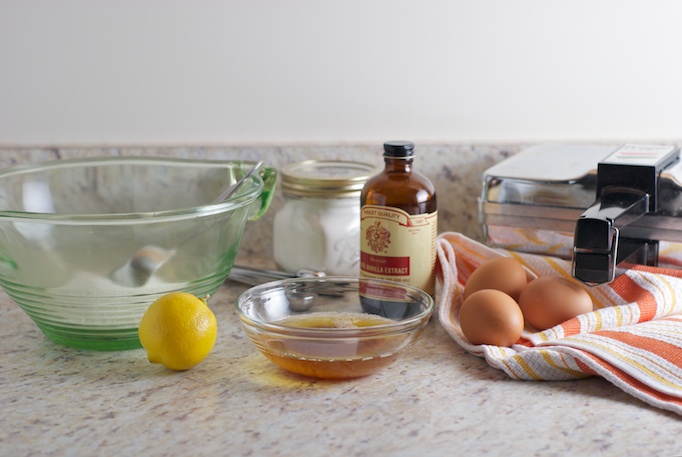
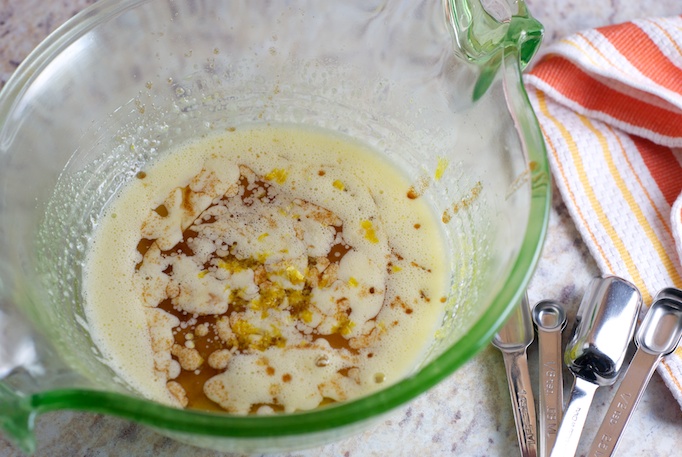
I decided to try browned butter and lemon zest on this batch. I thought the brown butter flavor got a little hidden with all the other flavors, but I did seem to notice that the cookies were really crisp, and seemed to stay crisper longer. The extra crispness could be due to a lot of different factors, but it may have been from browning the butter and releasing some additional water in the browning process, so I will certainly be testing this again.
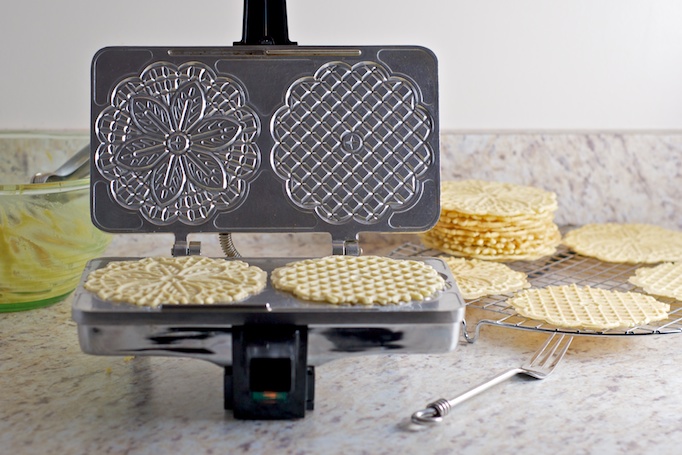
Pizzelles are great plain, but I highly recommend experimenting with a nice dusting of powdered sugar, dunked in ice cream, sandwiched between Nutella or pizzelle PBJs.
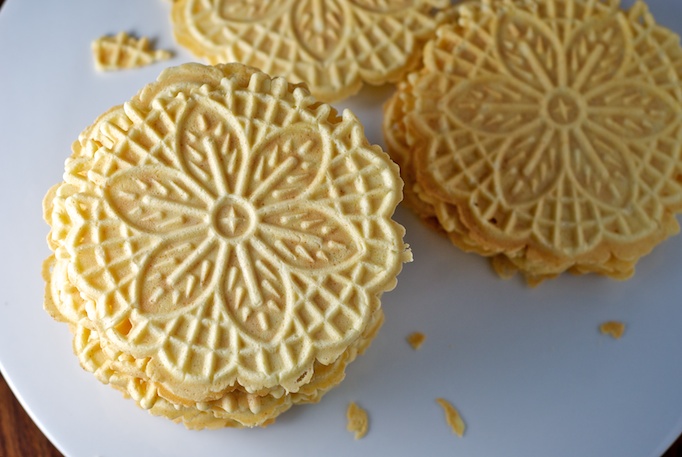
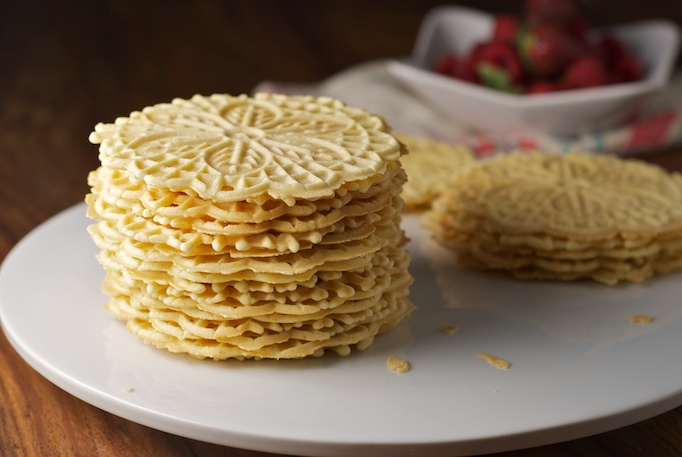
Italian Pizzelles
Adapted slightly from VillaWare Pizzelle Baker Recipe Booklet 3 eggs, room temperature 3/4 cup sugar 1/2 cup butter, melted and cooled 1 teaspoon vanilla 1/2 teaspoon anise (optional) 1 3/4 cups flour 2 teaspoons baking powderIn a large mixing bowl, beat the eggs and sugar using a small hand mixer or wooden spoon. Beat in the cooled butter, vanilla and anise, if using, to egg and sugar mixture.
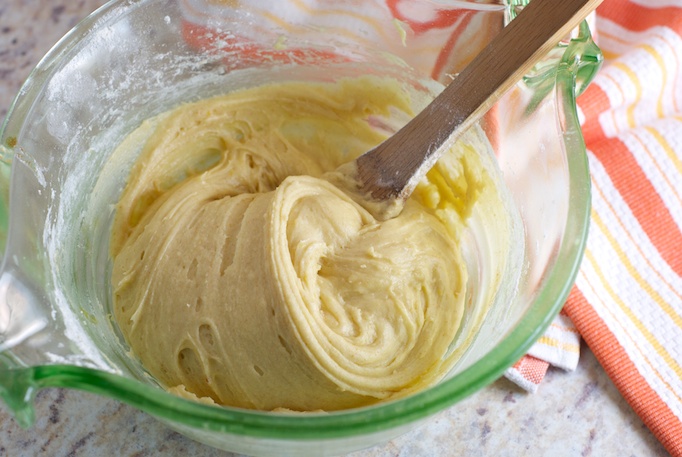
Sift the flour and baking powder together and stir into the egg mixture with a wooden spoon until fully incorporated. The batter should be stiff enough to be dropped by spoon.
Bake in your pizzelle baker, according to your manufacturer’s instructions.
Pizzelle Baking Tips:
- Let your iron heat up at least 5 to 8 minutes.
- A spring-loaded ice cream scoop makes it really easy to drop batter quickly; I use a 1 3/8″ scoop that is slightly over filled; if you don’t have scoop two spoons will work too.
- A light coating of non-stick spray or vegetable oil on the iron at the beginning helps to prevent sticking. Add spray or oil before the iron is on just to be safe.
- The first time I used my baker, the first few rounds stuck. Don’t get discouraged, this goes away with use!
- Try to drop your batter a little behind center in the waffle baker; the dough has a tendency to shift forward when you close the baker, so by dropping it behind center, it helps to equalize the shift and evenly distribute batter.
- My pizzelles seem to be baked perfectly around 30 to 40 seconds in the iron; I like mine lightly browned.
- Remove cooled pizzelles with a fork to a cooling rack until no longer warm.
- If you want to shape your pizzelles, do so immediately after you pull them from the iron, as this will be your only chance.
- Store pizzelles in an air-tight container – I think they are best when eaten within 2 days.
Other Flavor Variations:
Almond Pizzelles
Anything almond was always a favorite in our house. 1 teaspoon of almond extract reduce vanilla to 1/2 teaspoon omit anise extractFollow directions for the basic recipe above, swapping out extracts as directed.
Chocolate Pizzelles
Lovely light chocolate flavor – really nice with almond extract 3 tablespoons cocoa powder 3 additional tablespoons sugar 1/2 teaspoon almond extract (optional) omit anise extractAdd cocoa and extra 3 tablespoons of sugar to the basic Italian pizzelle recipe. Omit anise.
Browned Butter with Lemon Zest
Pictured Above 1/2 cup browned butter (instead of melted butter) 1 teaspoon lemon zest omit anise extractFollow the basic recipe, except brown the butter (for browning instructions refer to this recipe). The browned butter will take longer to cool because it does get quite hot; wait for it to cool down before adding. Follow remaining steps in basic recipe adding the butter and zest as directed above with the vanilla. Omit anise.
Swirled
Make one batch of the Italian pizzelle recipe and the Chocolate pizzelle recipe. Add about 1/2 teaspoon of each dough to each section of the baker, and bake.

Mema & Pappa says
FANTASTIC! We printed the recipe brought out our Pizzelle maker and we are about to begin. We are especially interested in the Browned Butter recipe, and shaping them into different forms.
heather says
Awesome! I know both of you will love them…
Mom says
I made these last night for our friend’s trip home to Maine; when I bring them to parties they’re a crowd stopper. My fondest memory of this family favorite is watching my grandmother (Nannie) making them, all coming out perfect with no effort.
Doretta says
My Mom used to substitute 1/2 or 1/3 cooking oil (canola, etc…) for all the butter — which came to a few TBs, w/ the rest being butter. Have you experimented doing this? She said they made the batter extra crispy.
heather says
I haven’t. I always have used all butter. If you try it me know how they turn out!
Mitzi says
I no longer have a pizzelle maker. Does anyone have any experience how to make with out the iron? I have a mix and would like to use it but not sure how it will work with out pizzelle maker
Maryse says
Just to let you know I did the Italian version replacing 1/2 cup of melted butter by 1/2 cup olive oil and the pizzellis turned out great: crispy and delicious!
Michael Malone says
Mitzi try using a conventional waffle iron… just drop less mixture onto the surface.
Michael Malone says
A neighbor gave me a Pizzelle maker as a gift this week. It’s a 1960’s model new in the box. Inside I found paperwork on how to season your maker before using it. I’d like to share it if I could post a scanned picture of it.
Joseph says
Love the recipe just like Mom used to make.
heather says
So glad you liked them!!
Joseph Sullivan says
Sooo good
Joseph Sullivan says
Fantastic like Mamma used to make