We’re going to California again in February and hopefully to the Bouchon in Yountville while we’re there. Sadly, I haven’t made a lot from the cookbook since getting it a few years ago, but I love reading through the recipes and staring the fabulous pictures.
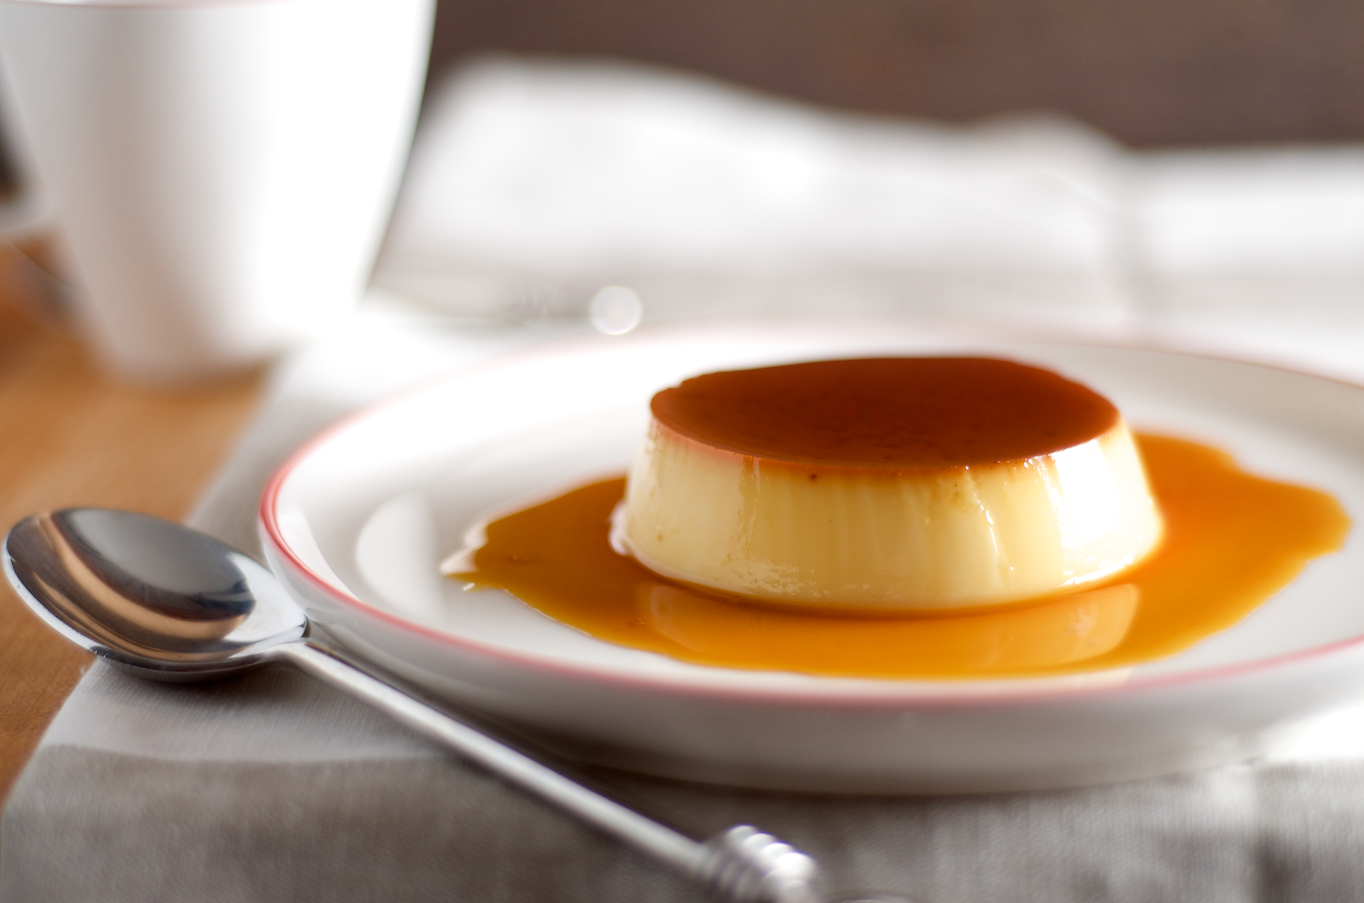
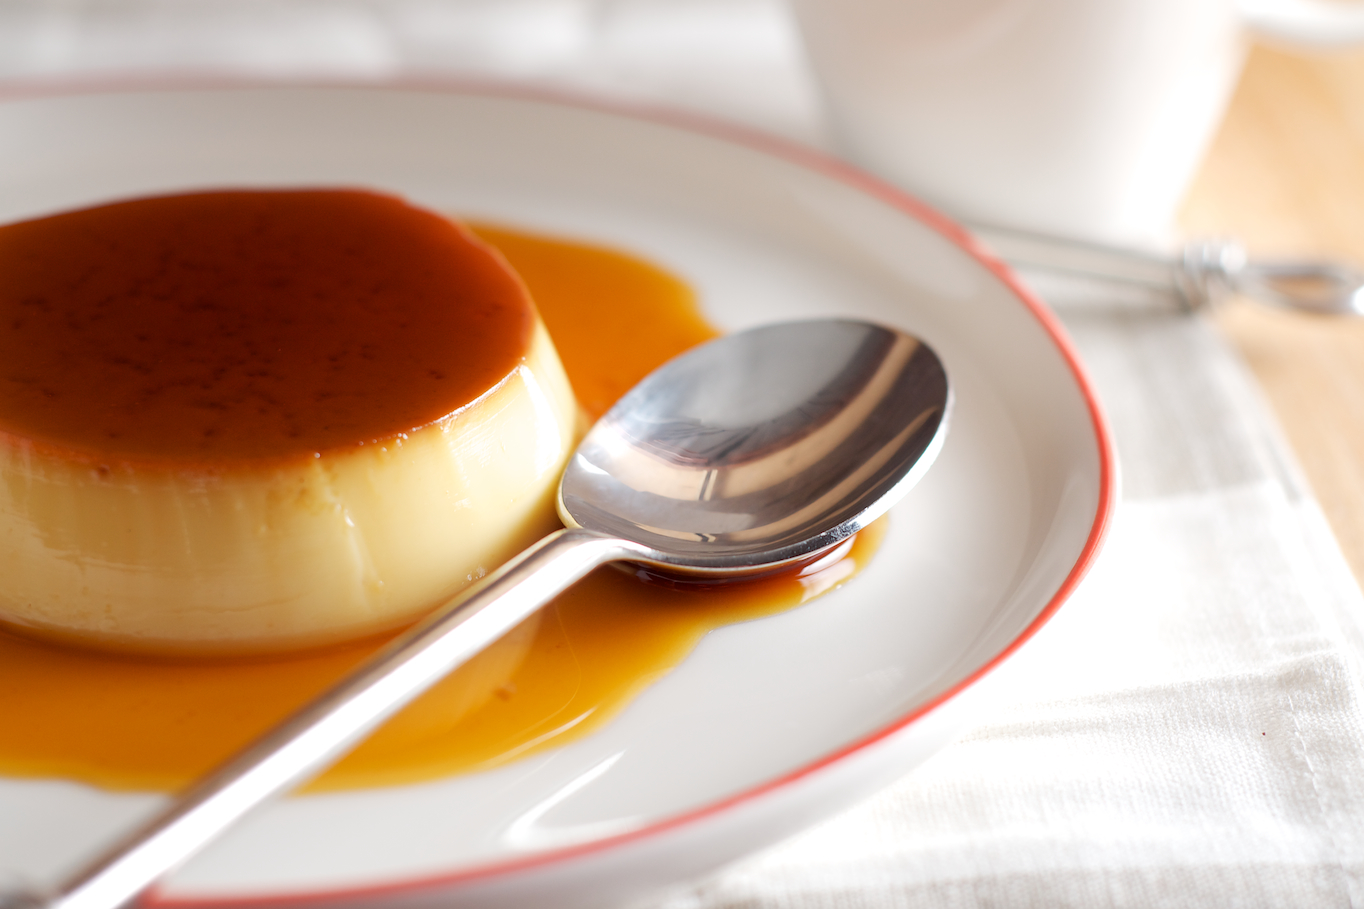
I finally made the crème caramel a few weeks ago, and it was delicious; not nearly as intimidating as you would think. I’ll certainly be making it again; next time I might try finding some slightly deeper ramekins or molds so the custard is a little higher.

The caramel is not hard, but it is the trickiest part to make. If you haven’t made caramel before don’t feel bad if it takes a few tried to get it to the right color, just have extra ingredients on hand to be safe.
Crème Caramel
Adapted slightly from Bouchon Makes 8 servings I’ve included two baking methods below. The one from the cookbook uses plastic wrap; when I attempted to do it as written the plastic quickly melted, so I switched to the baking instructions from Cooks Illustrated. If you would like to attempt the plastic-wrap method from the Bouchon cookbook, I’ve added some recommendations below.Caramel
1/2 cup plus 1 tablespoon sugar 3 tablespoons light corn syrup 3 tablespoons waterCustard
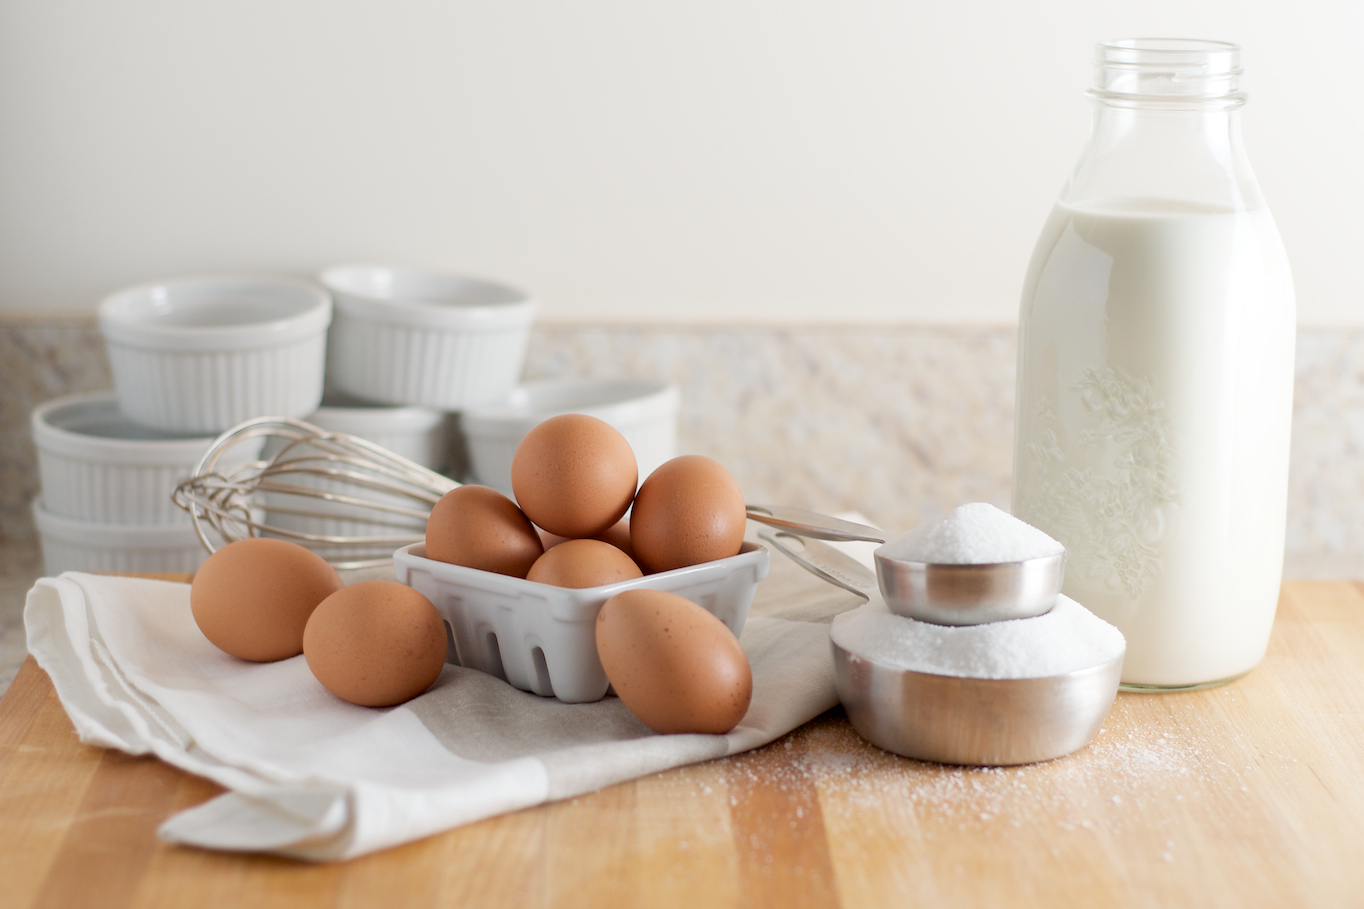
4 cups whole milk 1 1/4 cups plus 3 tablespoons sugar 5 large eggs 3 large egg yolks 2 1/4 teaspoons pure vanilla extractFor the Caramel
Arrange eight, 7-8 ounce crème caramel cups or ramekins in a baking pan or large roasting pan lined with a piece of parchment paper and set near stove. If your house is freakishly cold this time of year, like mine, you may want to put your ramekins in a warm oven for a few minutes to take the chill out and keep the caramel from hardening too quickly.
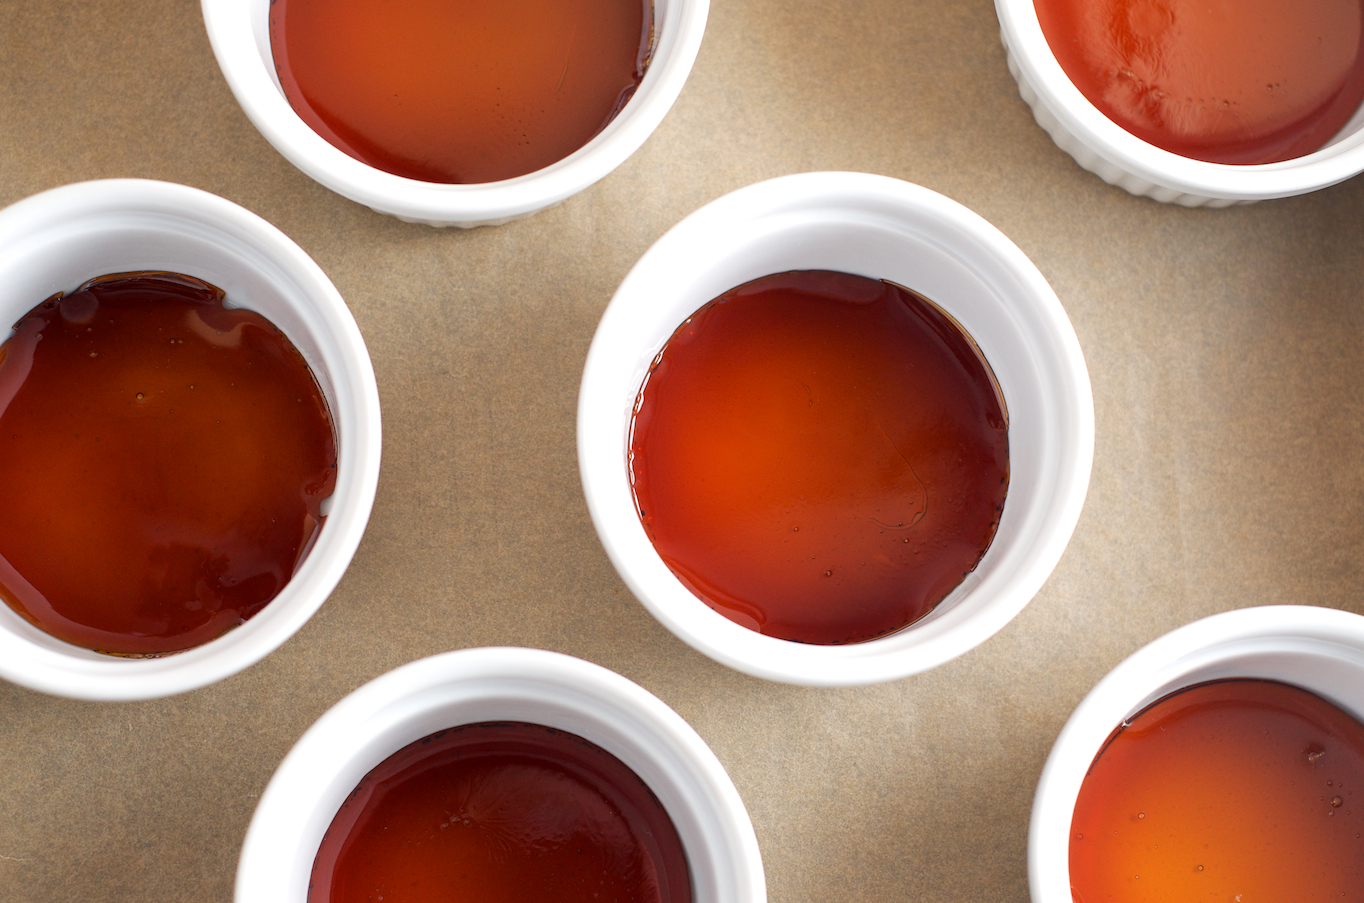
In a small saucepan, combine sugar, corn syrup and water, and stir to combine. Bring to a simmer over medium heat, stirring constantly with a heatproof spoon or spatula. Continue to simmer and stir until caramel is a rich, deep amber (think old copper penny), about 13 minutes. If sugar starts to crystallize on the side of the pan, brush down with a pastry brush dipped in water. If the caramel starts to brown too quickly, take it off the heat and let it rest a bit to regain control. I’m always paranoid that I’ll over do caramel, so I pull it off the heat just before I think it’s ready and wait a few seconds, and then if I need to I’ll put it back on the heat.
Working with two cups at a time, quickly pour caramel into bottoms of the cups and rotate to coat the bottoms evenly. If the caramel in the saucepan becomes too thick, you can place the pan over low heat to remelt. Caramel cups can be kept at room temperature for up to two days; cover with plastic wrap.
For the Custard
Combine the milk and sugar in a medium nonreactive saucepan and bring just barely to a simmer over medium heat, stirring to dissolve sugar. Remove from heat and allow to cool until just warm to the touch.
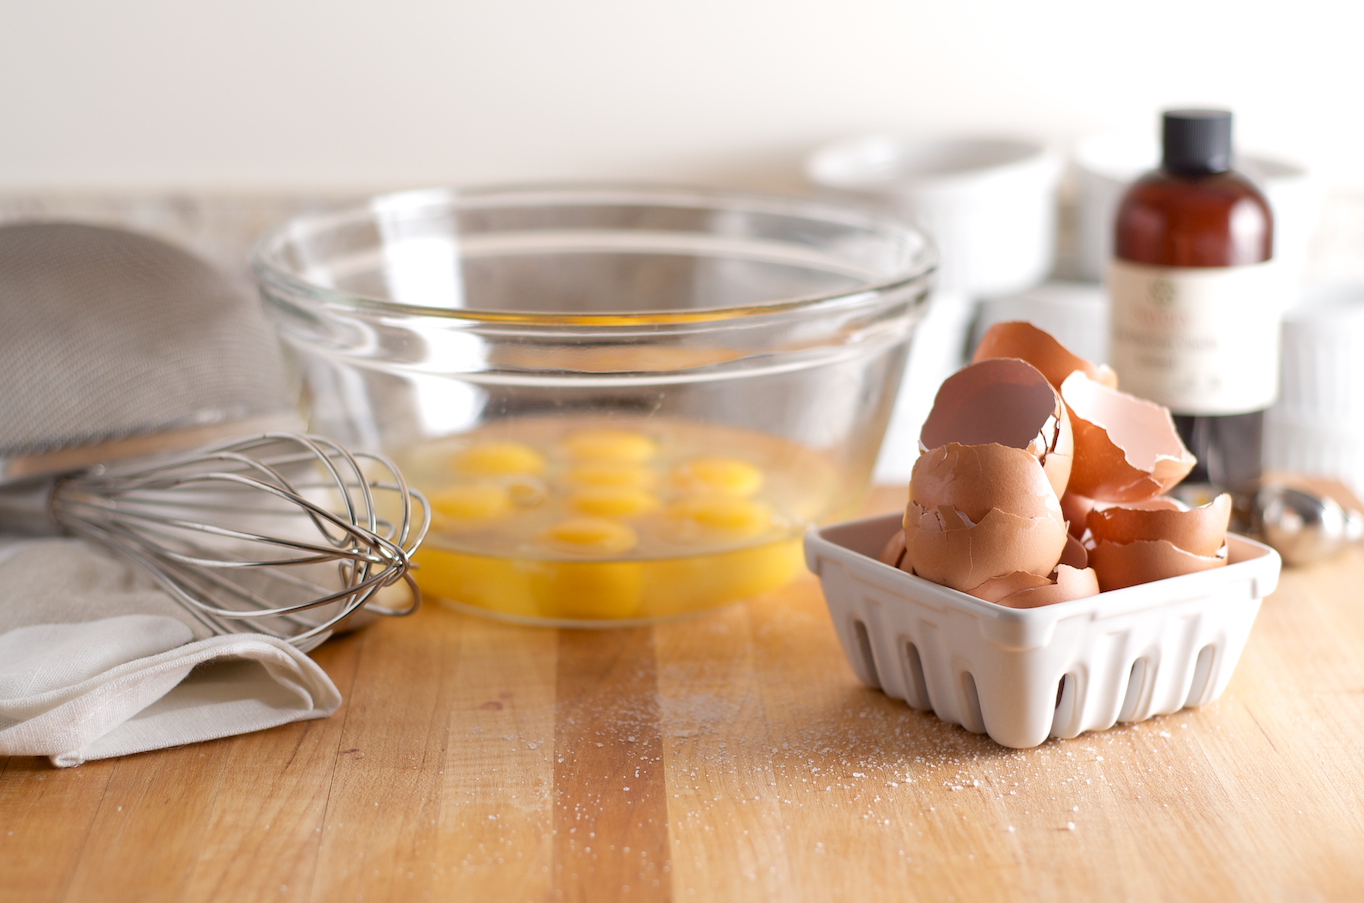
Whisk eggs and yolks in a large bowl to combine. Whisking constantly, slowly add warm milk mixture and then whisk in vanilla. Strain custard through a fine mesh sieve into a spouted pitcher or measuring cup and refrigerate for a day, if you have time, or proceed with the recipe. According to the book, letting the custard base rest for a day allows “the flavorings to mature”.
To Bake
Heat the oven to 300 degrees if you’re baking WITH plastic-wrap method. Heat oven to 350 degrees if you’re baking WITHOUT plastic-wrap.
Place baking/roasting pan on top of a baking sheet for an additional layer of insulation at the bottom of the pan so the custards cook slowly. Pour about 3/4 cup of custard into each cup, or just to the top of the first rim if you’re using a ramekin. Add enough hot water to the baking pan to come about two-thirds of the way up the sides of the cups. Use a wooden skewer or toothpick to pop any bubbles on the top of the custards so the tops will be smooth. I had about 3/4 cup of custard leftover since my ramekins were on the small side.
If using plastic-wrap method…
I would recommend using a large, flat, un-opened oven safe baking bag instead of using plastic wrap to ensure you won’t have any melting issues; lay the bag on top of the roasting pan, and secure, by tying closed with kitchen twine (so you can see in) or cover with aluminum foil. Make sure you buy a bag large enough to fully cover your pan, and still have at least 1-inch of slack on each side to tightly seal. Place baking pan in oven, and start checking custards after 30 minutes. The custards should be set, but still giggle slightly; total baking time will probably be about 40 minutes, unless your custard was cold when it went into the oven. Remove baked custards from hot water, and place on cooling rack. Cool to room temperature, then refrigerate for at least 24 hours. Custards can be covered with plastic wrap and refrigerated for up to three days.
If using the non-plastic-wrap method…
Loosely cover baking pan with aluminum foil and place in oven; start checking custards after 30 minutes. The custards should be set, but still giggle slightly; total baking time will probably be about 40 minutes, unless your custard was cold when it went into the oven. Remove baked custards from hot water, and place on cooling rack. Cool to room temperature, then refrigerate for at least 24 hours. Custards can be covered with plastic wrap and refrigerated for up to three days.
To Serve
Fill a bowl with a about 2 inches of very hot water. Set crème caramel cup in hot water and let the caramel soften for a few seconds. Run a paring knife around the edge of the cup to loosen the custard, and then invert on a serving plate. If the custard sticks, hold the cup firmly against the plant and shake custard to loosen.
Yead says
These looking so YUMMY. I love this.